tutorial / Aug 29, 2026
Extend Home Assistant Bluetooth Coverage with an ESPHome Proxy
Place one ESPHome Bluetooth proxy near distant BLE devices, prove its route in Home Assistant, and keep a safe local-adapter fallback.
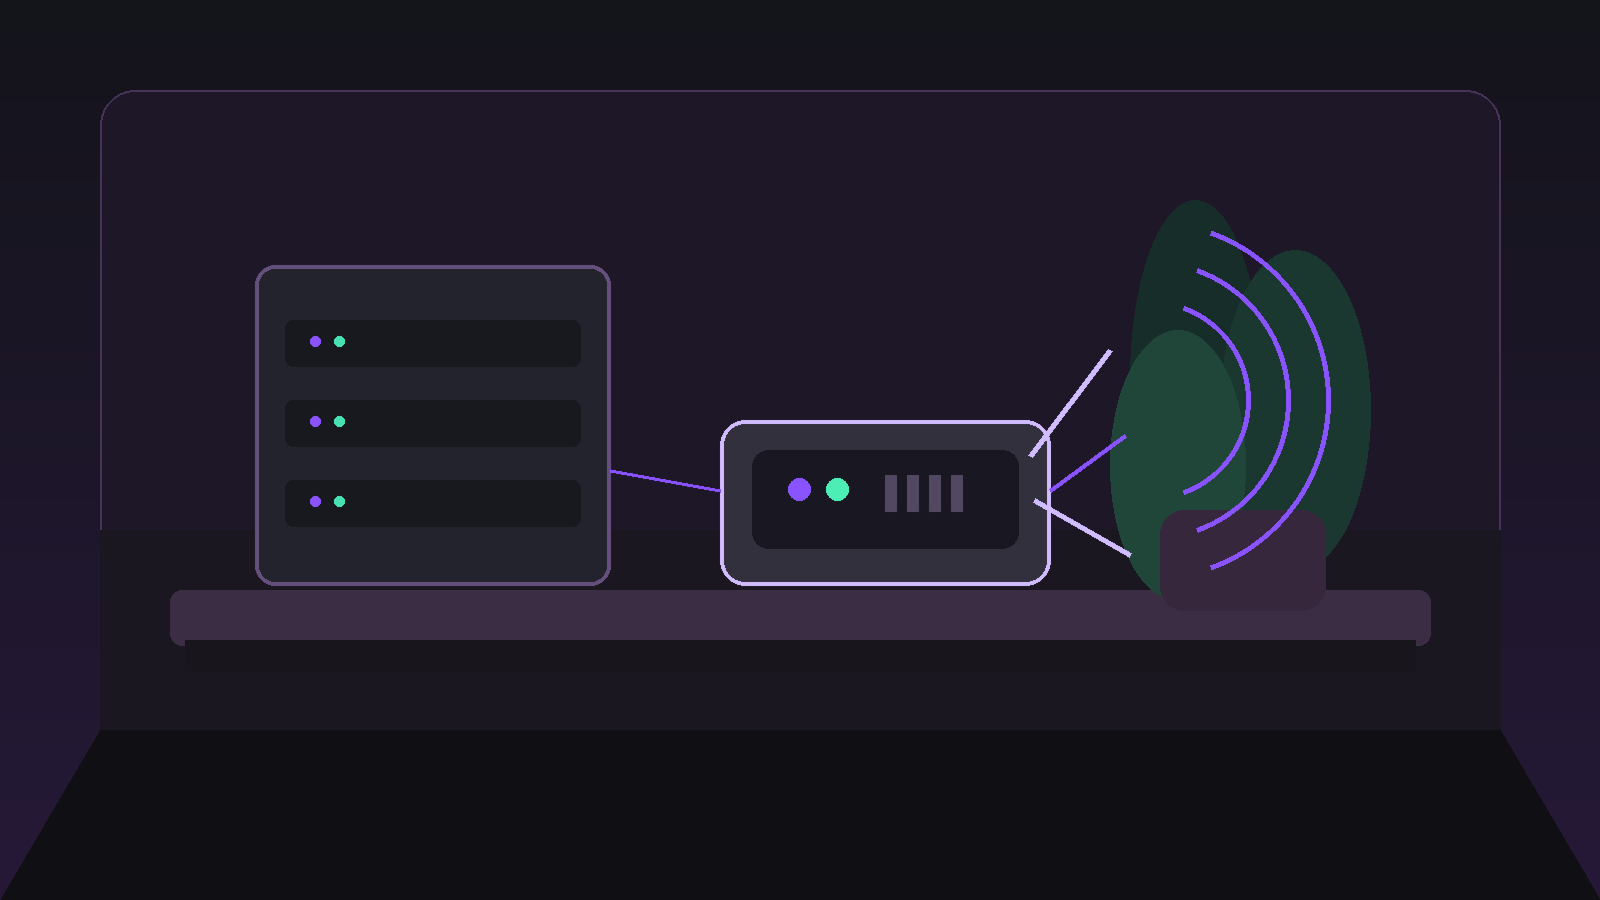
Outcome: Bluetooth reach where the device actually lives
A Home Assistant Bluetooth proxy places a small ESPHome node near BLE sensors, locks, or switches instead of relying on a USB adapter beside the server. For a self-hosting homelab, this keeps Bluetooth hardware close to the smart-home devices while the Home Assistant service remains on the home server. The proxy receives nearby Bluetooth Low Energy advertisements and relays them across the local network to Home Assistant. This guide creates one deliberately narrow proxy, confirms that Home Assistant can use it, and leaves the existing local adapter untouched as a fallback. A proxy is for BLE devices only. It does not replace Zigbee, Thread, Wi-Fi, or Bluetooth Classic devices. Start with one room and one known-compatible BLE integration rather than moving every scanner at once.
Prerequisites and compatibility limits
Prepare an ESP32 board with Wi-Fi, a data-capable USB cable for the first flash, and a Home Assistant installation on the same trusted LAN. Home Assistant OS users can install ESPHome Device Builder from Settings > Apps > Install App. Home Assistant Container users can run ESPHome separately; a networked proxy avoids passing a local USB Bluetooth adapter into the Home Assistant container. Keep the proxy at least three metres from routers, switches, or dense server racks where possible. Use a unique ESPHome name and retain the generated API encryption key. Do not add a web server component solely for inspection because that consumes memory useful to BLE.
Step 1: install the ESPHome Device Builder
- In Home Assistant, open Settings > Apps > Install App, search for ESPHome Device Builder, then choose Install, Start, and Open Web UI.
- Select New Device Setup, give the node a unique name such as hall-ble-proxy, choose the matching board, and enter trusted-LAN Wi-Fi details.
- Complete the first install with the USB cable. Once joined to Wi-Fi, later firmware updates can use the Device Builder Install action over the network.
Step 2: add the small proxy configuration
Open the node in ESPHome Device Builder, choose Edit, and retain the generated wifi:, api:, ota:, and logger: sections. Add the following minimal BLE components, then save. Use Validate before choosing Install. The tracker receives BLE traffic and the proxy forwards it to Home Assistant. Active connections are stated explicitly here; leave connection slots at their default on Wi-Fi ESP32 hardware unless a compatible device proves a need for more.
esp32_ble_tracker:

bluetooth_proxy:
active: true- After Validate succeeds, choose Install and select the reachable device. If discovery is unavailable, use Settings > Devices & services > Add Integration > ESPHome and enter its hostname or LAN address, port 6053, and the API encryption key.
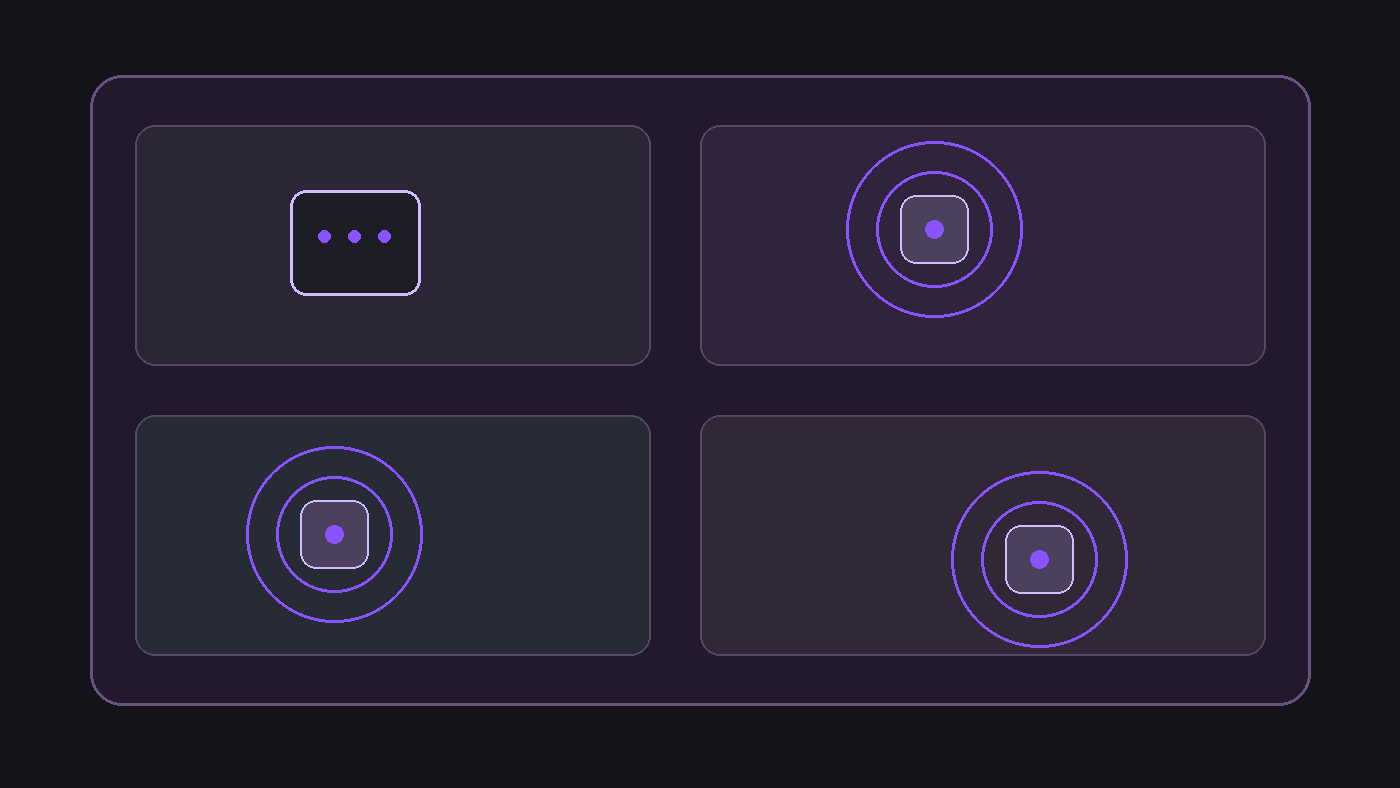
Step 3: place the proxy before changing scan settings
Put the powered proxy near the BLE device that is difficult to reach, not beside the Home Assistant host. A shelf, hallway outlet, or room edge is usually more useful than a network rack. Keep it on the trusted network; this is a networked Home Assistant device, not an internet-facing bridge. In Settings > Devices & services > Bluetooth > Configure, use Auto scanning mode unless the target integration requires another mode. Auto minimizes battery cost while still requesting more information when needed. Once Home Assistant owns the running mode, editing the YAML may not change it; use the Home Assistant control.
Step 4: verify an allowed path and a denied path
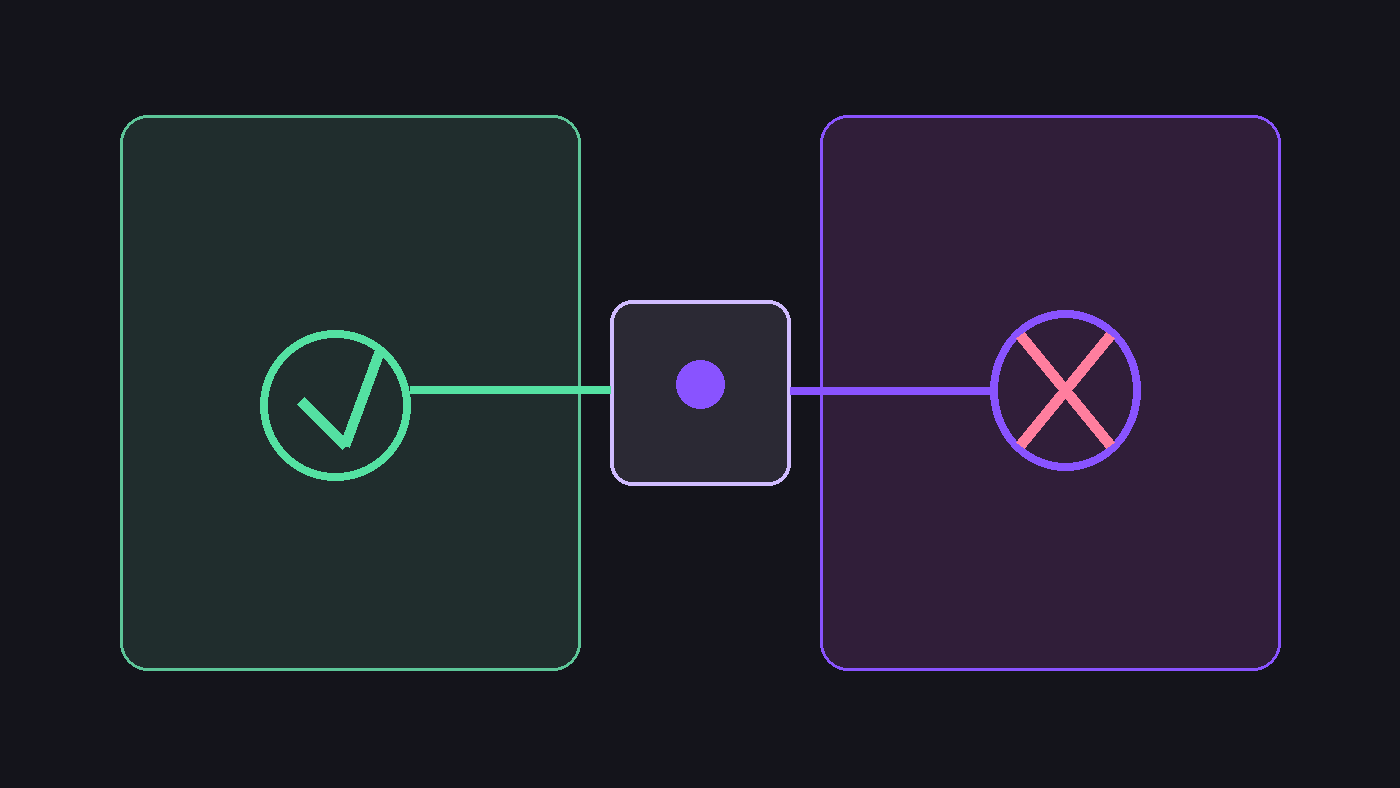
Move one known BLE sensor or supported device close to the proxy and open Settings > Devices & services > Bluetooth. The proxy should appear as a scanner. Add the discovered device through its own integration, then confirm that an entity updates while it is outside useful range of the server’s local adapter. For the denied test, temporarily unplug the proxy or turn off its switchable power source. The remote scanner should become unavailable and the distant device should stop reporting new data through that route. Restore power and wait for ESPHome to reconnect; the scanner should return without rewriting configuration. This distinguishes the remote proxy route from data that still reaches a nearby local adapter.
Troubleshoot without widening the blast radius
If the node is online but no devices appear, check ESPHome Device Builder Logs for Wi-Fi and API errors, then confirm that the board has BLE support. Do not add broad container privileges or expose a device dashboard to the internet to solve a coverage issue. If a device is discovered but cannot be controlled, verify whether it needs active GATT connections rather than advertisements alone. Remove unnecessary firmware features, keep the board cool, and return connection slots to the default. For poor reception, relocate the proxy before raising scan intervals or windows; aggressive settings can add traffic, heat, and instability.
Roll back safely and keep the fallback
To remove the trial, delete the ESPHome device from Settings > Devices & services, then remove the proxy’s own ESPHome entry only after confirming that no required BLE entity depends on it. The existing local adapter remains unchanged and can serve nearby devices. For a firmware rollback, edit the node back to the generated base configuration, run Validate, and install it only after the proxy is no longer needed. Avoid deleting a working BLE integration merely because the first placement was weak; relocate the node or check compatibility first.
Verification ledger