security / Sep 16, 2026
Secure a Home Assistant Dashboard with Cloudflare Tunnel and Access
Publish one browser-based Home Assistant dashboard through Cloudflare Tunnel, then require an Access policy before the local login.
Outcome and prerequisites
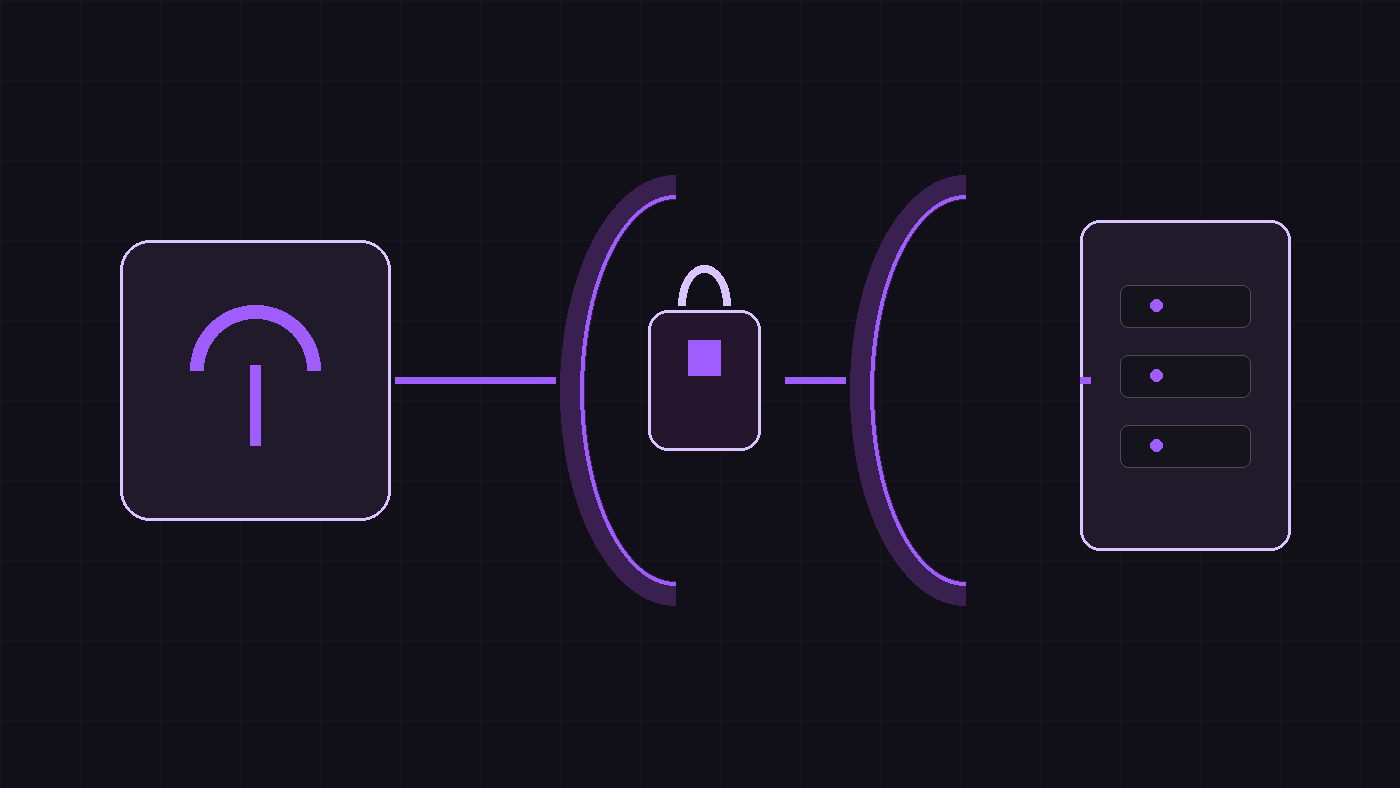
This guide exposes one browser-based Home Assistant dashboard at a dedicated hostname while keeping the Home Assistant origin on the home network. Cloudflare Tunnel carries the connection outward from the host; Cloudflare Access evaluates identity before the dashboard can load. Home Assistant still keeps its own login, so this adds a gate rather than replacing authentication.
Use this for a browser dashboard or an administrative route first. Do not assume that the Home Assistant Companion app, voice assistants, webhooks, or other native clients can complete an interactive Access sign-in. Keep those integrations private until each client has been tested. A Cloudflare account, an active domain on Cloudflare, a server or VM with outbound internet access, and Home Assistant reachable from that host are required.
Prepare the private service
Find the private HTTP address before creating a public route. Home Assistant Container commonly listens on http://home-assistant:8123 inside a Docker network; Home Assistant OS may use the HTTP server port configured at Settings > System > Network > HTTP server. The current Home Assistant documentation notes that Home Assistant OS defaults to port 80 from 2026.8, while Container remains 8123; use the actual configured port rather than copying an old default.
Keep the normal Home Assistant login enabled. If a traditional reverse proxy already sits in front of Home Assistant, review Trust X-Forwarded-For and Trusted proxies there. Those settings are for traditional reverse proxies, so do not add broad trusted-proxy ranges merely because a tunnel is being introduced.
Create the Access application first
- In the Cloudflare dashboard, open Zero Trust > Access controls > Applications and select Create new application.
- Choose Self-hosted and private, then choose Add public hostname. Enter a dedicated hostname such as
home.example.com; do not reuse a broad wildcard for an initial test. - Under Access policies, create an Allow policy that names only the approved identity or small group. Access applications deny by default, so a matching Allow policy is required.
- Choose the identity provider and a session duration appropriate for this administrative route, then select Create.
Create and run a remotely managed tunnel
- Open Networking > Tunnels, select Create Tunnel, give it a specific name such as
home-dashboard, and complete the environment selection for the machine that can reach Home Assistant. - On a Docker host, use the command Cloudflare supplies for that tunnel token. Its documented form is:
docker run cloudflare/cloudflared:latest tunnel --no-autoupdate run --token <TUNNEL_TOKEN>- Store the token as a secret, not in a Compose file committed to Git or a screenshot. Wait until the tunnel reports Healthy in Cloudflare.
- In the selected tunnel, open Routes > Add route > Published application. Set the same hostname used in Access and set Service URL to the private Home Assistant address, such as
http://home-assistant:8123when both containers share a network. Select Add route.
A quick tunnel command creates a temporary trycloudflare.com address and is not a production substitute: Cloudflare documents request and SSE limits for that mode. Use a named tunnel and the intended hostname instead.
Bind the hostname to the policy
Open the Access application again and verify that its public hostname exactly matches the tunnel route. Then enable Protect with Access in the tunnel route settings where available, so the connector validates Access at the origin boundary. This reduces the risk that an origin path exposed by a later network mistake bypasses the identity check.
Cloudflare recommends creating the Access application before the tunnel route; a published route without an Access application can be reachable to anyone on the internet. Keep only the chosen hostname published. Do not add a router port forward for Home Assistant as a workaround.
Verify both allowed and denied access
Run these tests from a phone on mobile data or another device outside the home network:
- Open
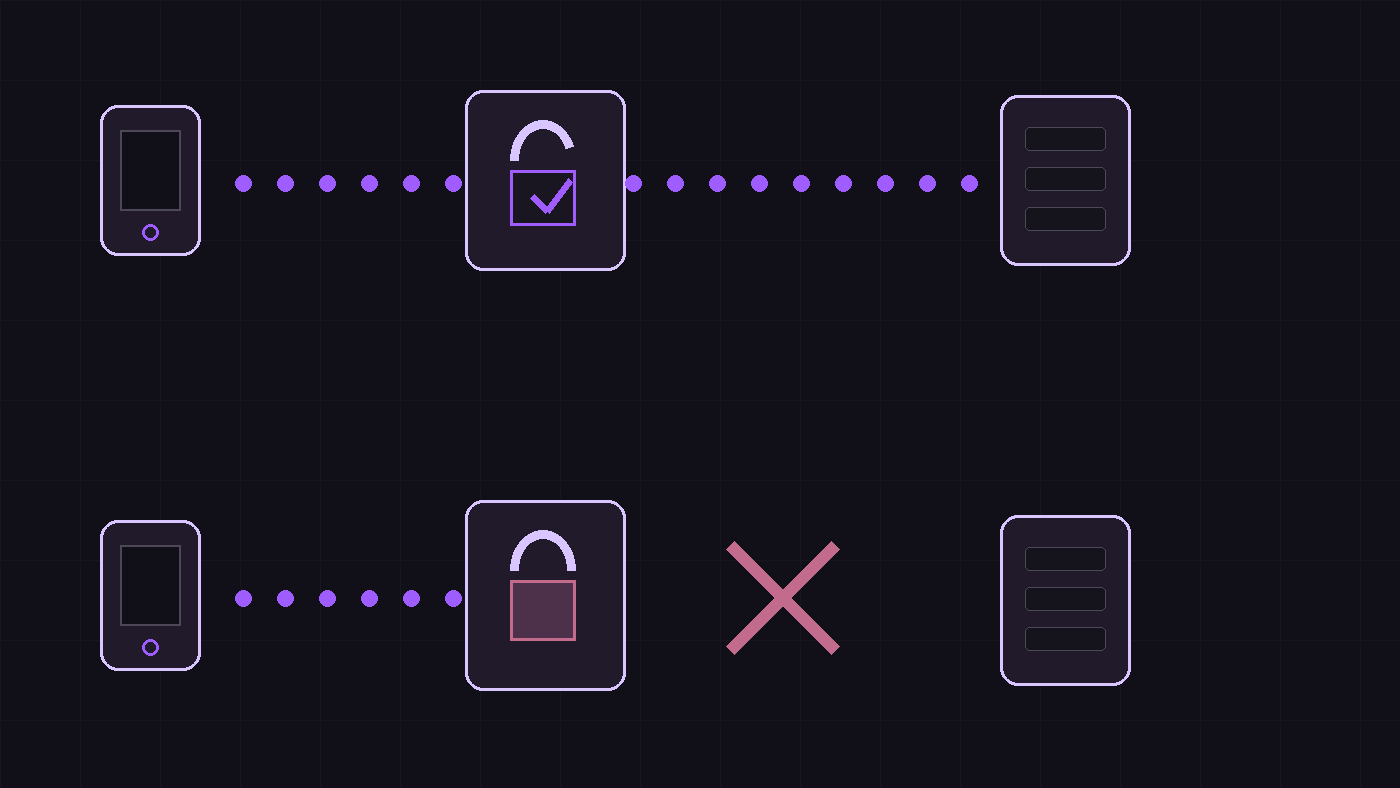
https://home.example.comin a private browser window. The Access identity step should appear before Home Assistant. - Complete sign-in with an approved identity. The Home Assistant login should still appear after the Access gate.
- Open a fresh private window and use an identity outside the Allow policy. The request should be denied and must not reach the Home Assistant login.
- Check the home router: there should be no inbound port-forward rule for the Home Assistant service.
Troubleshoot and roll back safely
If Cloudflare returns a gateway error, first confirm that the tunnel is Healthy and that the Service URL is reachable from the cloudflared host or container. A healthy connector cannot repair an incorrect local hostname, port, or Docker network. If the browser loops after identity, compare the Access hostname with the tunnel hostname character for character and review the Allow policy order.
To roll back, remove the published application route in Networking > Tunnels > your tunnel > Routes, then confirm from an external device that the hostname no longer reaches Home Assistant. Keep the application and tunnel only if they serve another deliberate route. Remove any accidental router port forward rather than restoring it. If native clients cannot complete Access, leave the dashboard route browser-only and use a private-network method for the native client instead.
Sources
Verification ledger